The Big Picture 
Start using Symfony in 10 minutes! Really! That's all you need to understand the most important concepts and start building a real project!
If you've used a web framework before, you should feel right at home with Symfony. If not, welcome to a whole new way of developing web applications. Symfony embraces best practices, keeps backwards compatibility (Yes! Upgrading is always safe & easy!) and offers long-term support.
Downloading Symfony 
First, make sure you've installed Composer and have PHP 8.1 or higher.
Ready? In a terminal, run:
1 |
$ composer create-project symfony/skeleton quick_tour
|
This creates a new quick_tour/ directory with a small, but powerful new
Symfony application:
1 2 3 4 5 6 7 8 9 10 11 |
quick_tour/
├─ .env
├─ bin/console
├─ composer.json
├─ composer.lock
├─ config/
├─ public/index.php
├─ src/
├─ symfony.lock
├─ var/
└─ vendor/
|
Can we already load the project in a browser? Yes! You can setup
Nginx or Apache and configure their
document root to be the public/ directory. But, for development, it's better
to install the Symfony local web server and run
it as follows:
1 |
$ symfony server:start
|
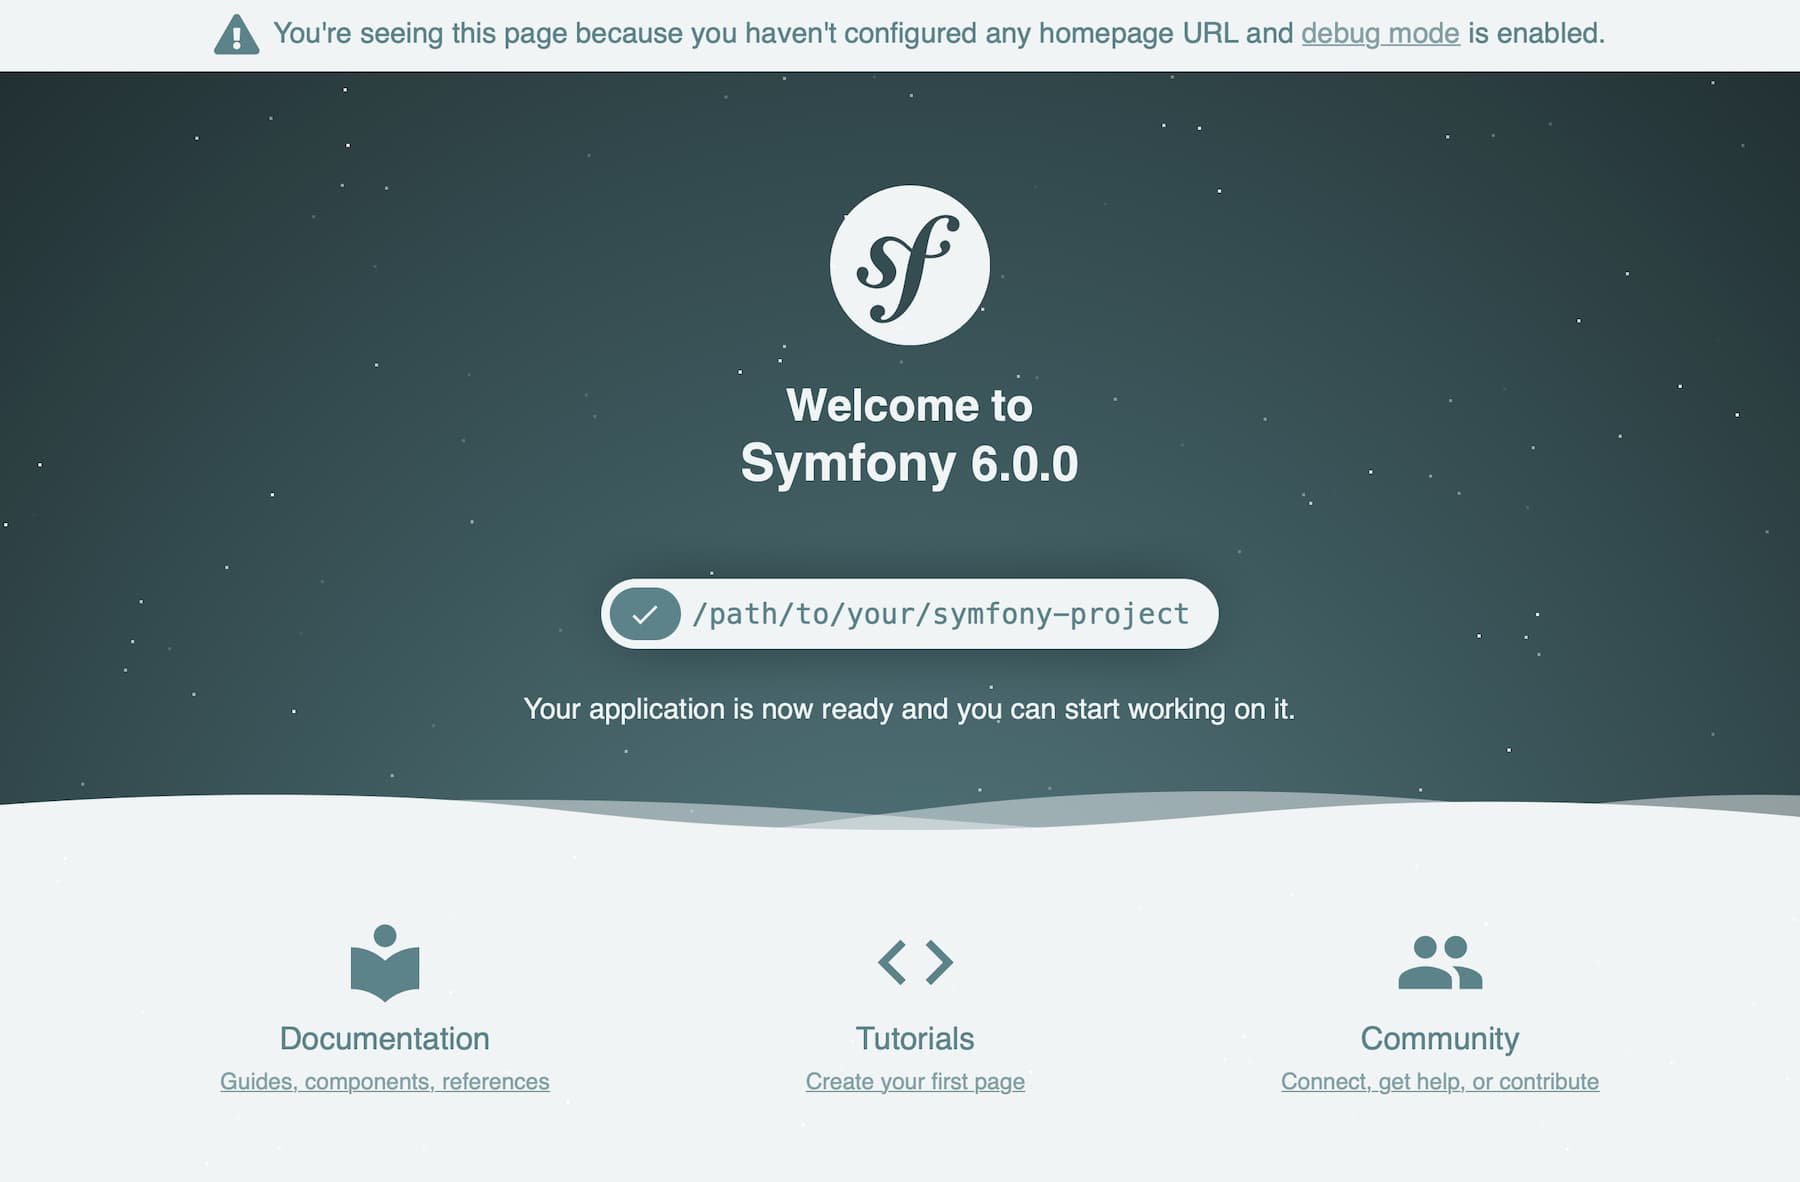
Try your new app by going to http://localhost:8000 in a browser!

Fundamentals: Route, Controller, Response 
Our project only has about 15 files, but it's ready to become a sleek API, a robust web app, or a microservice. Symfony starts small, but scales with you.
But before we go too far, let's dig into the fundamentals by building our first page.
Start in config/routes.yaml: this is where we can define the URL to our new
page. Uncomment the example that already lives in the file:
1 2 3 4 |
# config/routes.yaml
index:
    path: /
    controller: 'App\Controller\DefaultController::index'
|
This is called a route: it defines the URL to your page (/) and the "controller":
the function that will be called whenever anyone goes to this URL. That function
doesn't exist yet, so let's create it!
In src/Controller, create a new DefaultController class and an index
method inside:
1 2 3 4 5 6 7 8 9 10 11 12 13 |
<?php
// src/Controller/DefaultController.php
namespace App\Controller;

use Symfony\Component\HttpFoundation\Response;

class DefaultController
{
    public function index(): Response
    {
        return new Response('Hello!');
    }
}
|
That's it! Try going to the homepage: http://localhost:8000/. Symfony sees
that the URL matches our route and then executes the new index() method.
A controller is just a normal function with one rule: it must return a Symfony
Response object. But that response can contain anything: simple text, JSON or
a full HTML page.
But the routing system is much more powerful. So let's make the route more interesting:
1 2 3 4 5 |
# config/routes.yaml
  index:
-     path: /
+     path: /hello/{name}
      controller: 'App\Controller\DefaultController::index'
|
The URL to this page has changed: it is now /hello/*: the {name} acts
like a wildcard that matches anything. And it gets better! Update the controller too:
1 2 3 4 5 6 7 8 9 10 11 12 13 14 15 |
<?php
  // src/Controller/DefaultController.php
  namespace App\Controller;

  use Symfony\Component\HttpFoundation\Response;

  class DefaultController
  {
-     public function index()
+     public function index(string $name): Response
      {
-         return new Response('Hello!');
+         return new Response("Hello $name!");
      }
  }
|
Try the page out by going to http://localhost:8000/hello/Symfony. You should
see: Hello Symfony! The value of the {name} in the URL is available as a $name
argument in your controller.
But this can be even simpler! So let's install annotations support:
1 |
$ composer require annotations
|
Now, comment-out the YAML route by adding the # character:
1 2 3 4 |
# config/routes.yaml
# index:
#     path: /hello/{name}
#     controller: 'App\Controller\DefaultController::index'
|
Instead, add the route right above the controller method:
1 2 3 4 5 6 7 8 9 10 11 12 13 14 15 |
<?php
  // src/Controller/DefaultController.php
  namespace App\Controller;

  use Symfony\Component\HttpFoundation\Response;
+ use Symfony\Component\Routing\Annotation\Route;

  class DefaultController
  {
+      #[Route('/hello/{name}', methods: ['GET'])]
       public function index(string $name): Response
       {
           // ...
       }
  }
|
This works just like before! But by using attributes, the route and controller
live right next to each other. Need another page? Add another route and method
in DefaultController:
1 2 3 4 5 6 7 8 9 10 11 12 13 14 15 16 17 |
<?php
// src/Controller/DefaultController.php
namespace App\Controller;

use Symfony\Component\HttpFoundation\Response;
use Symfony\Component\Routing\Annotation\Route;

class DefaultController
{
    // ...

    #[Route('/simplicity', methods: ['GET'])]
    public function simple(): Response
    {
        return new Response('Simple! Easy! Great!');
    }
}
|
Routing can do even more, but we'll save that for another time! Right now, our app needs more features! Like a template engine, logging, debugging tools and more.
Keep reading with Flex: Compose your Application.