Deploying to a Kubernetes Cluster
Kubernetes has become the most popular way to deploy, run and manage containers in production. Google Cloud Platform, Microsoft Azure and Amazon Web Services and many more companies provide managed Kubernetes environment.
The official API Platform distribution contains a built-in Helm (the k8s package manager) chart to deploy in a wink on any of these platforms.
This guide is based on Helm 3.
If you want to deploy API Platform on a local Kubernetes cluster, check out our Minikube tutorial!
Preparing Your Cluster and Your Local Machine
- Create a Kubernetes cluster on your preferred Cloud provider or install Kubernetes locally on your server, for example with kubeadm好みのクラウド プロバイダーに Kubernetes クラスターを作成するか、kubeadm などを使用して、サーバーに Kubernetes をローカルにインストールします。
- Install Helm 3
locallyfollowing their documentationドキュメントに従って Helm 3 をローカルにインストールします。 - Be sure to be connected to the right Kubernetes cluster
kubectl config viewDetails e.g. for Google Cloud running:gcloud config get-value core/project適切な Kubernetes クラスター kubectl 構成ビューに接続されていることを確認してください。 Google Cloud の実行: gcloud config get-value core/project
Working-Dir: Your local installation of api-platform. Default /api-platform/
Creating and Publishing the Docker Images
Example with the Google Container Registry and Google Cloud Platform
Change the name "test-api-platform" to your Google project ID (not the project name). Quickstart Google Cloud If you do not have gcloud yet, install it with these command.
curl https://sdk.cloud.google.com | bash
1. Build the PHP and Caddy Docker images and tag them
Versioning: The 0.1.0 is the version. This value should be the same as the attribute appVersion in Chart.yaml.
Infos for Google Container pulling and pushing
docker build -t gcr.io/test-api-platform/php:0.1.0 -t gcr.io/test-api-platform/php:latest api --target api_platform_php
docker build -t gcr.io/test-api-platform/caddy:0.1.0 -t gcr.io/test-api-platform/caddy:latest api --target api_platform_caddy
docker build -t gcr.io/test-api-platform/pwa:0.1.0 -t gcr.io/test-api-platform/pwa:latest pwa --target api_platform_pwa_prod
2. Push your images to your Docker registry
gcloud auth configure-docker
docker push gcr.io/test-api-platform/php
docker push gcr.io/test-api-platform/caddy
docker push gcr.io/test-api-platform/pwa
Optional push the version images:
docker push gcr.io/test-api-platform/php:0.1.0
docker push gcr.io/test-api-platform/caddy:0.1.0
docker push gcr.io/test-api-platform/pwa:0.1.0
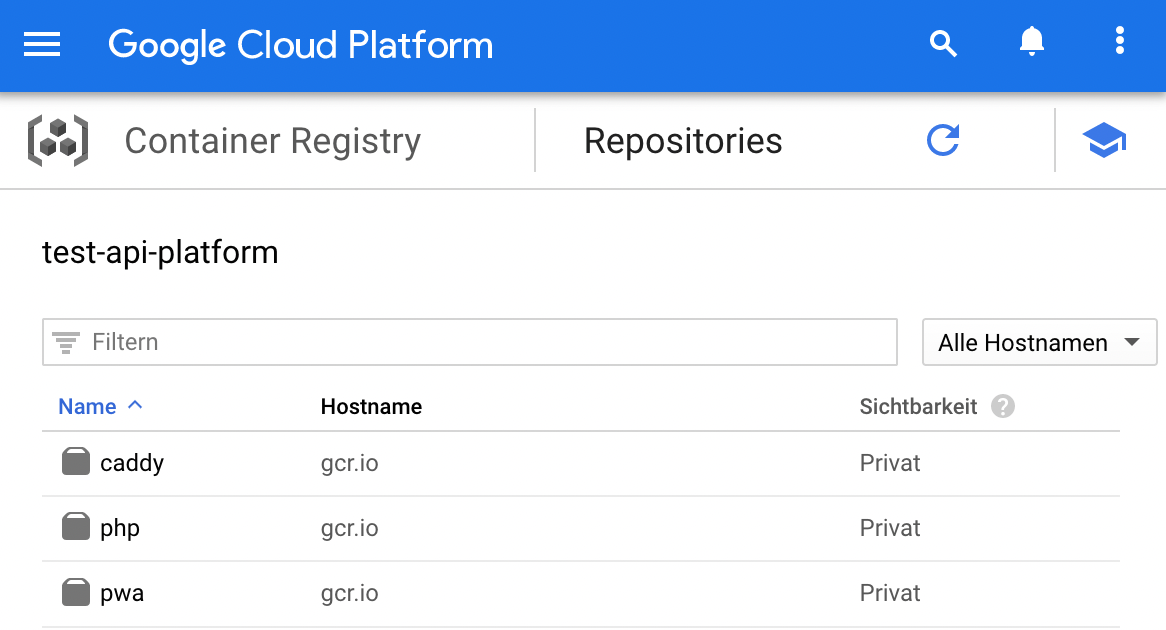
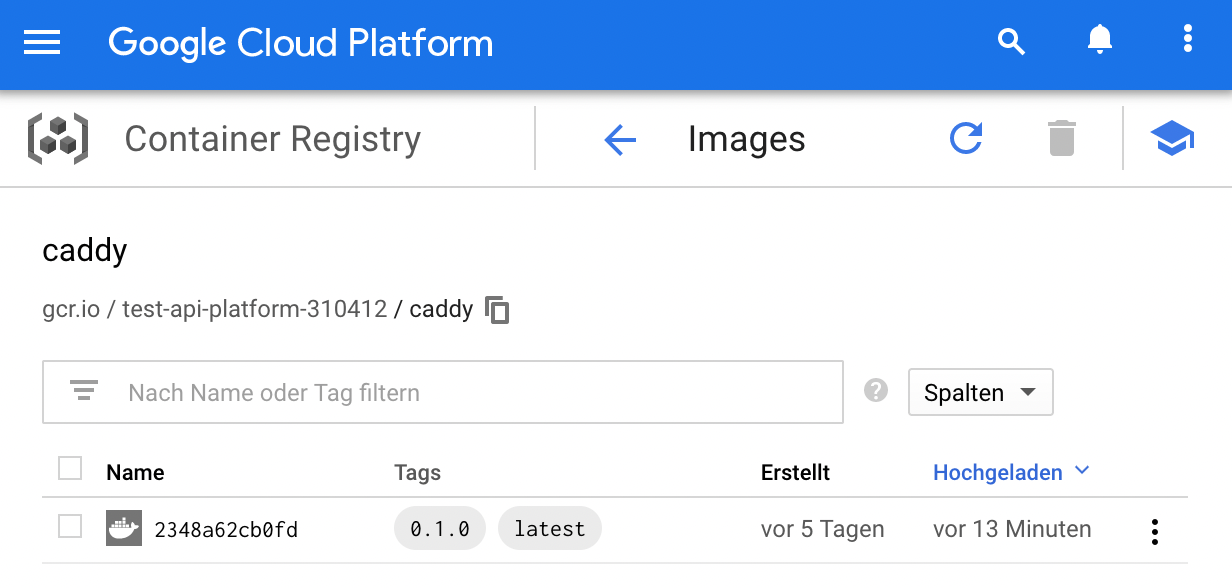
The result should look similar to these images.
Deploying with Helm 3
1. Check the Helm version
helm version
If you are using version 2.x follow this guide to migrate Helm to v3
2. Firstly you need to update helm dependencies by running
helm dependency update ./helm/api-platform
This will create a folder helm/api-platform/charts/ and add all dependencies there. Actual this is bitnami/postgresql, a file postgresql-[VERSION].tgz is created.
3. Optional: If you made changes to the Helm chart, check if its format is correct
helm lint ./helm/api-platform
4. Deploy your API to the container
helm upgrade main ./helm/api-platform --namespace=default --create-namespace --wait \
    --install \
    --set "php.image.repository=gcr.io/test-api-platform/php" \
    --set php.image.tag=latest \
    --set "caddy.image.repository=gcr.io/test-api-platform/caddy" \
    --set caddy.image.tag=latest \
    --set "pwa.image.repository=gcr.io/test-api-platform/pwa" \
    --set pwa.image.tag=latest \
    --set php.appSecret='!ChangeMe!' \
    --set postgresql.postgresqlPassword='!ChangeMe!' \
    --set postgresql.persistence.enabled=true \
    --set "corsAllowOrigin=^https?:\/\/[a-z]*\.mywebsite.com$"
The " are necessary for Windows. Use ^ on Windows instead of \ to split commands into multiple lines.
You can add the parameter --dry-run to check upfront if anything is correct.
Replace the values with the image parameters from the stage above.
The parameter php.appSecret is the AppSecret from ./.env
Fill the rest of the values with the correct settings.
For available options see /helm/api-platform/values.yaml.
If you want a test deploy you can set corsAllowOrigin='*'
After a successful installation, there is a message at the end. You can copy these commands and execute them to set a port-forwarding and get access on your local machine to the deploy. See image below.

If you prefer to use a managed DBMS like Heroku Postgres or Google Cloud SQL (recommended):
helm upgrade api-platform ./helm/api-platform \
    # ...
    --set postgresql.enabled=false \
    --set postgresql.url=pgsql://username:password@host/database?serverVersion=13
Finally, build the pwa (client and admin) JavaScript apps and deploy them on a static
site hosting service.
Access the container
You can access the php container of the pod with the following command. In this example the symfony console is called.
CADDY_PHP_POD=$(kubectl --namespace=default get pods -l app.kubernetes.io/name=api-platform -o jsonpath="{.items[0].metadata.name}")
kubectl --namespace=default exec -it $CADDY_PHP_POD -c api-platform-php -- bin/console
Caution for system architecture
If the pods do not run, and you get the following error from google kubernetes engine logs,
there is probably a problem with the system architecture.
standard_init_linux.go:211: exec user process caused "exec format error
Build the images with the same system architecture as the cluster runs.
Example: Building with Mac M1 with arm64 leads to problems. Most cluster will run with x86_64.
Solution: https://blog.jaimyn.dev/how-to-build-multi-architecture-docker-images-on-an-m1-mac/
Updates
There are 2 main upgrade strategies.
1. Always version your images (recommended)
Change the version in the attribut "appVersion" in Chart.yaml and tag the images with this version. You can upgrade with the same command from the installation and pass all parameters.
2. Use :latest tags
Infos about best practices for tagging images for kubernetes You have to use the *.image.pullPolicy=Always see the last 3 parameters.
helm upgrade api-platform ./helm/api-platform --namespace=default \
--set "php.image.repository=gcr.io/test-api-platform/php" \
--set php.image.tag=latest \
--set "caddy.image.repository=gcr.io/test-api-platform/caddy" \
--set caddy.image.tag=latest \
--set "pwa.image.repository=gcr.io/test-api-platform/pwa" \
--set pwa.image.tag=latest \
--set php.appSecret='!ChangeMe!' \
--set postgresql.postgresqlPassword='!ChangeMe!' \
--set postgresql.persistence.enabled=true \
--set "corsAllowOrigin=^https?://[a-z\]*\.mywebsite.com$" \
--set php.image.pullPolicy=Always \
--set caddy.image.pullPolicy=Always \
--set pwa.image.pullPolicy=Always
GitHub Actions Example for deployment
You can find a complete deploy command for GKE on the demo project:
Symfony Messenger
Running Pods with the Messenger Component to consume queues requires additions to the Helm chart.
Start by creating a new template for the queue-worker-deployment. The deployment.yaml can be used as template, the caddy container and all unused ENV variables should be removed.
Add the following lines under containers to overwrite the command.
command:
{{ range .Values.queue_worker.command }}
    - {{ . | quote }}
{{ end }}
args:
{{ range .Values.queue_worker.commandArgs }}
    - {{ . | quote }}
{{ end }}
Here is an example on how to use it from your values.yaml:
command: ['bin/console']
commandArgs: ['messenger:consume', 'async', '--memory-limit=100M']
The readinessProbe and the livenessProble can not use the default docker-healthcheck but should test if the command is running.
readinessProbe:
    exec:
        command: ["/bin/sh", "-c", "/bin/ps -ef | grep messenger:consume | grep -v grep"]
        initialDelaySeconds: 120
        periodSeconds: 3